
Attribute rules display values on Attributes based on rules. You can make an Attribute change its value based on another Attribute. For example: if a Car only comes in Gas and Diesel, but the Diesel only comes in Black. Then, the rule would be: if the Fuel Attribute is Diesel, then limit the Color Attribute to Black only.
Before you begin:
- Have existing (or create new) Attributes
- Have at least one Product created beforehand that uses Attributes
- Add the Attributes to the Layout of the object this Product is part of (so that they show up on the Layout)
Add Attribute Rules to an Existing Product using the Product Designer
- Open the Product you want to modify, go to App Launcher > Vlocity Product Designer
- From the Power Launcher, select Products

- Open the Product you want to add the Attribute Rules
- Go to the Attribute Rules Tab to add a new Attribute Rule
The Old vs the New Attribute Rules Tab
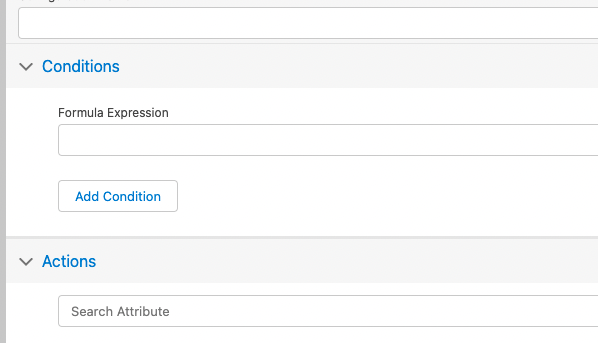
New: if you have this one, click on the Add Configuration button on the Right.

Old: If you have this one, click on the >>New Configuration Rule text on the left side under Configuration Setup.

How Attribute Rules work
You define Conditions that trigger Actions when they are met. For example, we’ll use a Product called Instagram which is offered in different Tiers (bronze, gold, silver) and different types of Posts (story, feed post, carousel). Post Type and Tier are Attributes.
In this example, we’ll set that when you select Bronze in the Tier Attribute, you can only get Story in the Post Type Attribute.
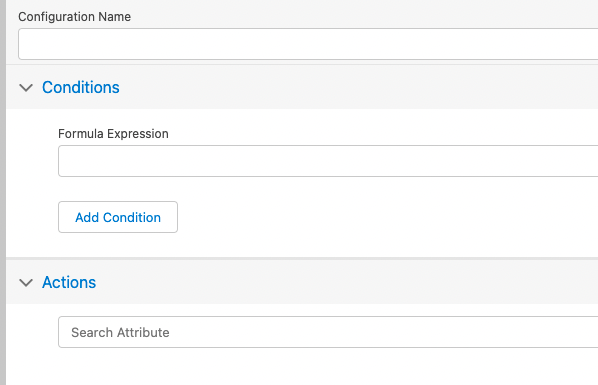
Configuring the Condition(s)
- In the Configuration Name field, type in a name for your Attribute Rule
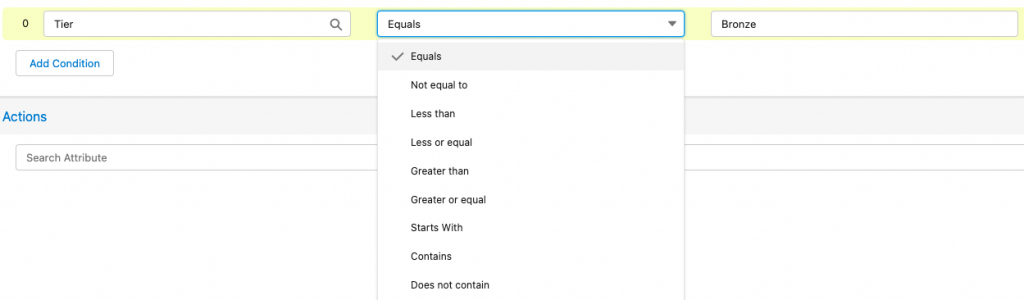
- Click the Add Condition button to add a condition
- We’ll add Tier as the Attribute and the logic “Equals” and then the Value being Bronze
So, whenever this product is in the Cart and you set the Tier Attribute to Bronze, it will trigger the action.
If you want to add an additional Condition, you can use the Add Condition button. When you’re ready, proceed to the Actions section.
Configuring the Actions
- Use the Search Field and search the Attribute you want the Action to act on. In our example, we’ll set the Post Type Attribute.
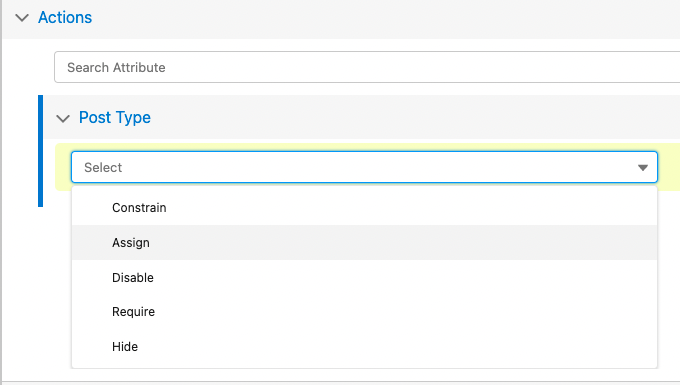
- Select the Type of Action you want to apply to this Attribute
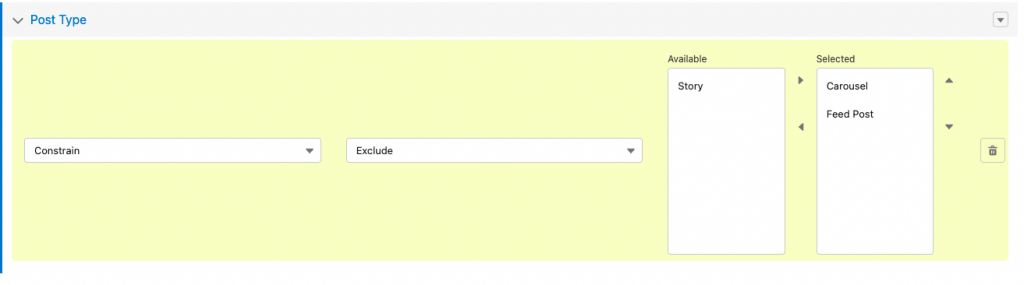
- Constrain: Excludes or Includes a picklist value from the Attribute. Only works on Attributes that are based on Picklists. It opens up a Multiselect picklist to move around columns the excluded and included values. You can exclude previously included values and vice versa.
- Assign: Assigns said value to the Attribute. Works with any kind of Attribute.
- Disable: Makes the Attribute Read-Only, it can be seen but cannot be modified. Gives a True or False option, therefore if the field was already Disabled, you can Enable it with False.
- Require: Makes the Attribute obligatory, or the order won’t be processed. Gives a True or False option, therefore if the field was already required, you can un-require it with False.
- Hide: Disappears the Attribute, even though it is still part of the Product, but the user can’t see it. Gives a True or False option, therefore if the field was already hidden, you can unhide it with False. Useful when the selected Attribute in condition renders the other Attribute no longer required.
- For our example, we’ll Constrain the Post Type Attribute by Excluding certain values, making only one the possible choice.
- You can add more Actions that affect other attributes but that fire with the same Condition. Use the Search Attribute bar and you can delete using the trashcan icon on the right side.
- When you’re done, click the Done button to save.
Congratulations, you have successfully created an Attribute Rule!
Additional Notes
If you create a rule to assign a value on an Attribute based on another Attribute choice, but you only want this to happen when this choice is selected, then I suggest you create another rule that sets the opposite, to restore the balance when other choices are selected.
For example, in our previous example, when we set the Tier Attribute to Bronze, if I want to configure some other value (say, Gold or Silver) while in the Cart, then I won’t be able to undo the Actions of my Attribute rule, and the values in Post Type will remain excluded. But, if I create another rule to counter that, which is triggered by the same condition but with the opposite operator (“does not equal” bronze) and in the Action include all the values, then the end result is that you’ll have a Vlocity Product that assigns dynamic values.
For more information on Attribute Rules, check out Salesforce’s Vlocity’s EPC guide.
1 Response
[…] How to configure Attribute Rules for Vlocity Products […]